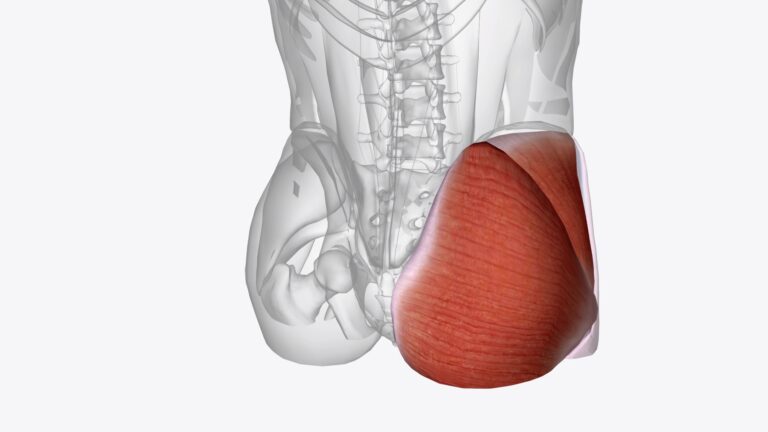
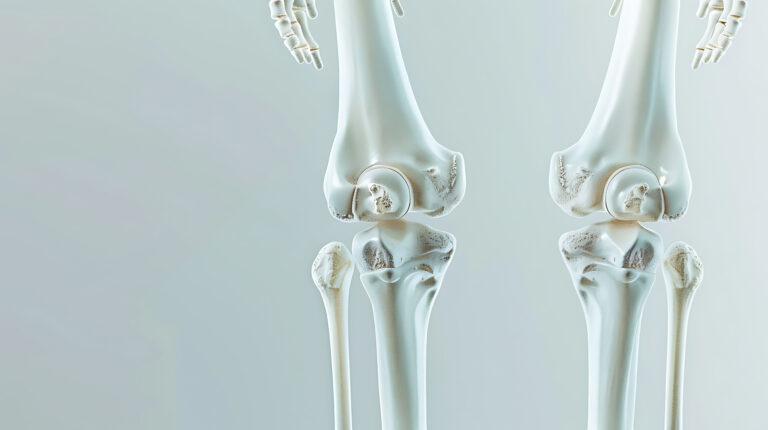
The hip joint is one of the body’s primary joints, crucial for performing a variety of movements in daily life. This joint enables activities such as walking, running, jogging, bending at the waist, and sitting. Given its role as a weight-bearing joint that is constantly used to maintain an active lifestyle, the hip joint’s cartilage can experience significant wear and tear over time. When the cartilage deteriorates or erodes, it results in a condition known as arthritis.
The loss or damage of cartilage leads to severe pain, making even simple daily activities like walking and driving difficult. While the treatment your doctor recommends will depend on the severity of the joint damage, non-surgical treatments may be effective in the early stages. However, if non-surgical methods fail to relieve pain and the joint damage is extensive, Total Hip Replacement (THR) or Total Hip Arthroplasty (THA) becomes the most viable solution. Modern THR allows patients to resume all activities post-surgery with minimal or no lifestyle restrictions.
Chronic hip pain can stem from various conditions such as Avascular Necrosis (AVN), Rheumatoid Arthritis (RA), Osteoarthritis, significant hip injuries or fractures (e.g., femoral neck fracture, acetabulum fracture), and Ankylosing Spondylitis (AS). Surgery is typically recommended as a last resort. If you are considering options and have been advised to undergo Total Hip Replacement (THR) surgery by your doctor, this blog provides comprehensive information about the surgical procedure.
Understanding the Surgical Procedure for Total Hip Replacement
Learning about the surgical procedure for a total hip replacement can significantly help in your preparation and ease any concerns you might have. Additionally, consulting with a top orthopedic surgeon can provide a deeper understanding of your condition and its treatment options. During your consultation with an experienced hip replacement surgeon, you will receive detailed counseling, discussions about the most suitable implant for your case, and an overview of the expected recovery timeline. It’s essential to know that utilizing the latest surgical techniques and high-quality, US-FDA approved implants can lead to a remarkable recovery within just 2-3 weeks post-surgery.
Pre-Surgery Evaluation
The first step in the surgical procedure for total hip replacement is a thorough pre-surgery evaluation. The orthopedic surgeon will assess various aspects of your hip condition. This evaluation includes a comprehensive review of your medical history, considering your overall health, the intensity and duration of your hip pain, your ability to walk with or without assistance, any movement restrictions around your hip, leg length discrepancies, and how these factors impact your daily activities. Alongside the physical examination, you will also need to undergo X-rays, scans, and relevant blood tests. X-rays typically reveal the extent of hip joint damage and aid the doctor in planning the most appropriate implant for your surgery. If further clarity is needed, the doctor may recommend additional imaging, such as a CT scan or MRI scan.
Prosthesis or Implant
Choosing the optimal prosthesis or implant is a crucial element of total hip replacement surgery. Over time, implants have significantly advanced, and the materials used in their construction are now robust enough to withstand the daily activities of even younger, active individuals while offering long-lasting durability. Prosthesis fixation can be done using either cemented or non-cemented methods. Currently, uncemented or non-cemented implants are the most favored. These implants use press-fit femoral and acetabular components, meaning the bone is shaped to allow the implant to securely grip the bone.
The bearing surfaces, referring to the ball and cup liner in these prosthetic joints, come in various combinations. These include ceramic ball on ceramic liner, metal ball on metal liner (which is no longer preferred), ceramic ball on a highly cross-linked polyethylene plastic liner (currently the most preferred), and metal ball on a polyethylene liner (generally reserved for older patients aged 70-75 years and above).
Step-by-Step Overview of the Total Hip Replacement Surgical Procedure
On the day of the surgery, you will be brought to the operation theatre complex about an hour before the anesthesia is administered. This time is used to conduct essential safety checks before you are moved into the operation room or theatre (OT). The surgical procedure follows these steps:
- Anesthesia: You will be given either general anesthesia or regional anesthesia (spinal or combined spinal and epidural anesthesia), based on the surgeon’s recommendation.
- Positioning and Preparation: After anesthesia, you will be positioned on your side for the surgery. The lower limb and hip area are thoroughly cleaned with antiseptic scrub for 5 to 7 minutes, followed by the application of antiseptic solution to the surgical area.
- Antibiotics: An appropriate antibiotic is administered inside the OT within one hour of making the surgical incision.
- Sterilization: The patient’s body is covered with sterile drapes, leaving only the hip area to be operated on exposed.
- Incision and Muscle Preservation: An incision is made into the hip area, cutting through the minimal amount of muscle necessary to reach the damaged hip joint. Modern hip replacement techniques aim to protect most of the hip muscles.
- Removing Damaged Components: The damaged femoral head is removed, and the damaged cartilage from the acetabulum is excised using precise instruments called reamers.
- Implanting the Acetabular Component: Once the bone is properly shaped, an appropriately sized uncemented cup (acetabular implant) is positioned to fit your bone anatomy. After thorough washing and cleaning, a highly cross-linked polyethylene liner is locked into the uncemented cup.
- Preparing the Femur: The femur (thigh bone) is then prepared to receive the uncemented stem using specialized broaches. The appropriately sized stem is implanted into the femur.
- Stability and Length Checks: Stability and limb length are assessed using trial femoral heads of various dimensions. The legs are equalized, and once confirmed, the appropriate-sized ceramic ball head is selected for final implantation.
- Cleaning and Repair: The hip joint is cleaned again with ample saline solution using pulsed lavage to remove all bone debris. The cut hip joint capsule and muscles are then repaired back to their original positions.
- Post-Operative Observation: Following the total hip replacement surgery, you will be closely monitored by a team of doctors and nurses. You will receive appropriate antibiotics and pain medications during the post-operative period.
- X-Rays: X-rays are typically taken about 24 hours after surgery to ensure the correct positioning and sizing of the hip components.
- Recovery and Movement: Most patients experience significant pain relief from the arthritic hip post-surgery and can bend their hip comfortably. Patients are encouraged to turn on their side within 2 hours after surgery and can sleep comfortably on their side the same day. A DVT pump is applied to the legs to prevent blood clots.
- Walking: The next morning, within 16-18 hours post-surgery, patients are helped out of bed and encouraged to walk with the assistance of a walker or crutch.
- Surgery Duration: The actual THR surgery usually takes around 1 hour, although this can vary depending on the type of surgery and the surgeon’s preferences.
Disclaimer: The information provided in this blog post is for general informational purposes only and should not be considered professional advice. Before making any health-related decisions, consult with a qualified healthcare professional. The content is not a substitute for medical advice, and individual results may vary. The author and website are not responsible for any consequences arising from the use of the information provided. Use your best judgment and seek professional advice when needed.


